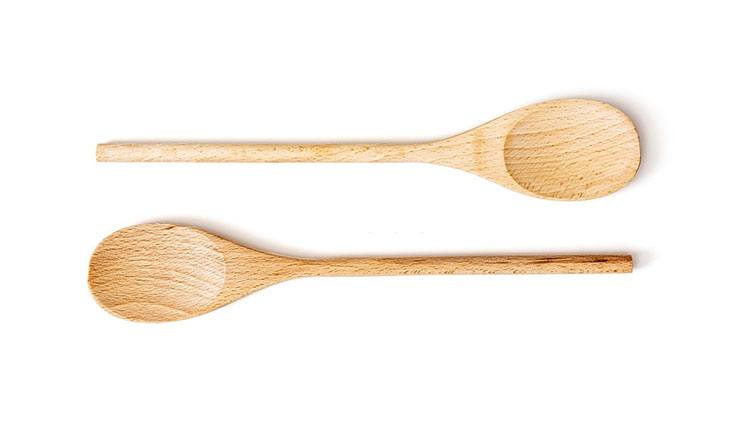
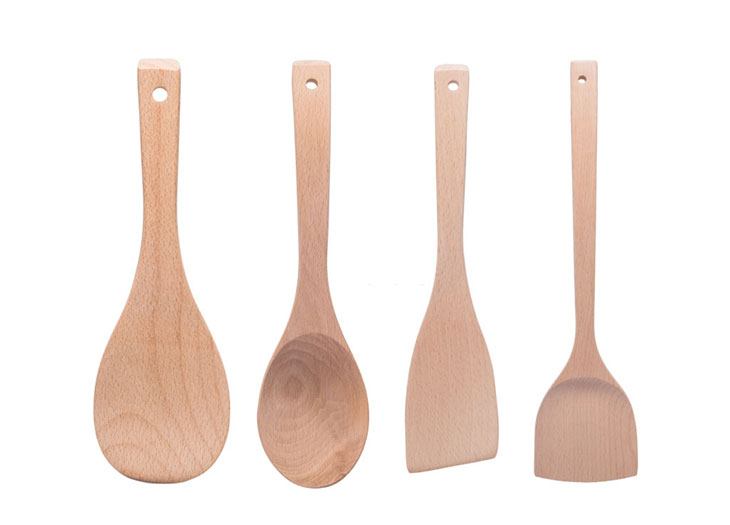
Wooden spoons made by hand are an art all unto themselves. They are special and seem to have a life and a story all of their own. Amongst the selection of spoons in the stores, handmade wooden spoons stand head and shoulders above the ones made from other materials.
These spoons are carefully crafted and shaped with love and care, and the minute you start using one, you build a relationship with it and it gradually blends itself comfortably into your hand. A hand-carved wooden spoon fits comfortably into any hand.
As those who make wooden spoons know, they can be moulded with a few simple tools or designed and worried over for months to get just the right texture or curve. From an ugly chunky piece of wood comes a product of style and beauty that will serve you faithfully through endless stews and stirrings in your kitchen for many years to come.
Ready our easy guide on how to make a wooden spoon.
More...
What You Need to Make a Handmade Wooden Spoon?

Step by Step Guide

Watch the video and learn how to make wooden spoon
Read more —
Tips to Take Into Account When Making Your Wooden Spoon
Most spoons are used for stirring, so the spoon should have a wide enough surface area to be able to comfortably move food around in a big pot with it being too difficult.
Often you will need to drain the pot and scrape the food out of it into a dish. Here the spoon needs to be able to do this easily and tidily.
And of course, most important of all, tastes. The bowl has to be large enough to pick up liquids or bits of food and it has to fit into your mouth!
Conclusion: Ready to Hand Carve Wooden Spoons

Now you are all set to make your very first wooden spoon!
Remember that it needs to be cared for carefully once you start using it. Do not let it get soaked in water for extra cleaning, and under no circumstances must it is put in the dishwasher – both of these methods will gradually weaken the wood.
High quality handmade wooden spoons will last for a good many years in your kitchen. However, if cracks develop in the bowl area, you will obviously have to retire it.
Generally, it is better to use a hardwood, and bamboo – which is one of the hardest woods that cricket bats are made of - is becoming a popular spoon wood. It is also eco-friendly which should suit all the green planet people out there.
Wood is a natural product that has a little bit of a bend in it – meaning that it can easily scrape and stir in the best pots getting into proper contact with the food. Wood is also comfortable for your hands and eventually, the handle will mould itself to the shape of your hand.
But, there is nothing like your own, personal wooden spoon.
Read more —
