Believe it or not, creating router templates is actually really easy.
It might sound complicated for first timers in the woodworking business, but you'll find it not difficult as you go on.
I can teach you how to make router templates in this article and it won't even take a lot of your time.
Templates are handy in woodworking, especially if you are trying to make some cool furniture.
Templates are also often used for designing wooden materials. This is ideal for bed frames, headboards and even tables that you would want to have some cool details on.
It would also be a cool business on your end should you become really dedicated and good at it.
Before we proceed to the step-by-step procedure on how to create router templates the right and easy way, you must be aware of the prerequisites first.
More...
Must-Haves In Creating Router Templates
1. Router
In order to make this project possible, you will need a good router.
You can usually buy it from your local hardware shop or you can also order it online. Most of the time, it comes as a set with the table and other woodworking equipment.
If you don't need a set, you can always buy it alone and the price could range from $100 to $180 depending on the brand and online store.
2. Plywood or Hardboard
I would typically advise that you use a hardboard because it is more affordable and it is so easy to work with.
3. Paper and Pencil
You will need this to draw your pattern on the piece of wood that you want to design on or create a template of.
4. Jigsaw or Scroll Saw
You will use jig saw or scroll saw in shaping the hardboard or plywood.
You can read our detailed guide on how to find the best scroll saw. In the blink of an eye, below are our top 3 picks.

5. Sandpaper
This is for finishing touches and making your project more presentable and professional.
Methodology In Making Router Templates
Preparation
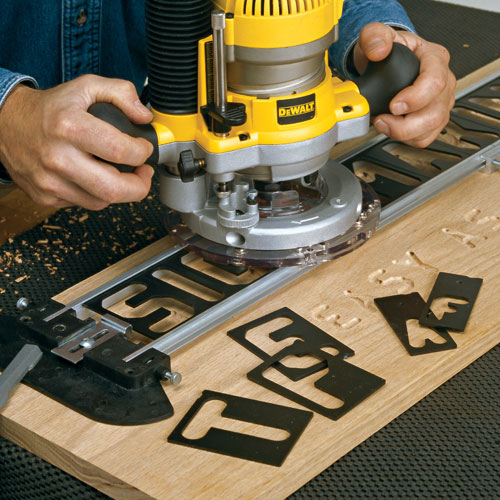
Via: eagleamerica.com
The Routing Process
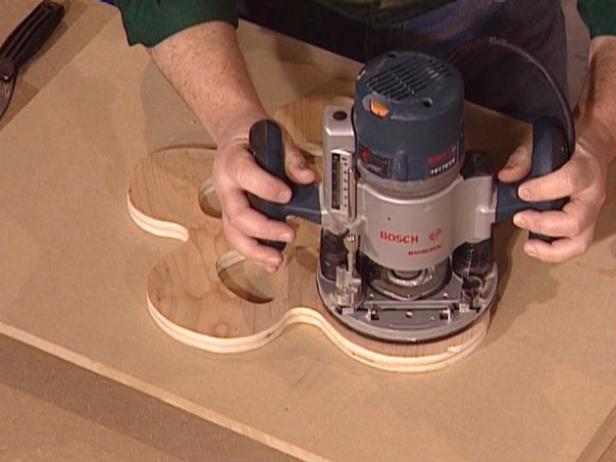
Via: diynetwork.com
You can also watch the video of how you could make a router template here.
Conclusion
It is really only hard when you think of creating it because it technically sounds difficult, especially for first timers. But as you have read, it is pretty easy to process and apply it to your project.
To sum it all up, basically, all you need to do is get a design that you want and create a pattern out of it. Once the pattern is done, you can then create your desired template.
Once your template has been established, the cutting, the routing, and the sanding could then take place.
Perhaps the most difficult part here would have to be measuring everything and making sure it is all precise. One wrong measurement could mess up the entire project and you don't want that to happen.
You are not expected to be instantly good at it the first time you try doing it. But don't feel bad and don't be so hard on yourself. Not everybody could really perfect it the first time.
It takes practice sometimes, so we would suggest to get your hands more on projects that would involve routing and creating a template router. Have fun!