Assuming you already have a router ready for use, and you’re ready to start making some clean-cut perfectly smooth edges.
The only problem – you don’t know how to use a bullnose router bit.
If that’s the case, here’s all you need to know before you go on making your masterpiece.
Cutting clean, smooth edges on a narrow piece of wood is every bit as challenging as it sounds, but with a router, you can easily produce a nicely finished edge on each try.
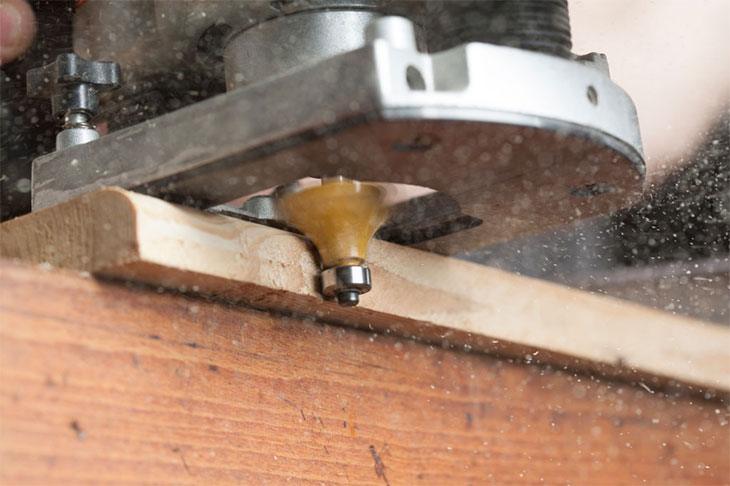
Routers are generally used to make even, level cuts on both straight and curved edges, and can replicate the same cuts on multiple pieces of wood.
More...
What Kind of Bullnose Router Bit Do You Need?
There are all types of bits out there, and each serves its own purpose – detailing, creating molding, cutting slots and notches for fastening pieces of wood to each other.
There are even router bits designed for the sole purpose of writing in wood… the list goes on.
In fact, there are hundreds of different types of, styles, shapes and sizes of router bits available on the market to choose from – making the wood router one of the most versatile tools in a carpenter’s shop.
There are so many bits available on the market, that knowing which one you will need can be a really touch decision to make, especially if you’re an experienced woodworker looking to expand your collection or you just want to purchase a wider range of bits for specialized use.
The first thing you should put in mind when purchasing a router bit is that they come in many different profiles. This refers to the shape of the cutting edge of the bit.

1. The Bullnose Router Bit
Presumably, you already have all the basic bits that the various woodworking books you’ve read have recommended to you, and possibly all that you’d ever need.
All that’s left is the specialized bits you need to add a craftsman's beautiful finishing touch, but with all the bits available, you have no idea where to start and what exactly each of them does, exactly.
To make things worse, in fact, there are also lots of types of router bit sets – ranging from 33 piece beginner sets to as much as 88 piece sets per case, in addition to the individual bits already on the market.
The only thing they have in common is that each of these bits has been designed and perfected over the years to create very specific cutting styles.
PRO TIPS
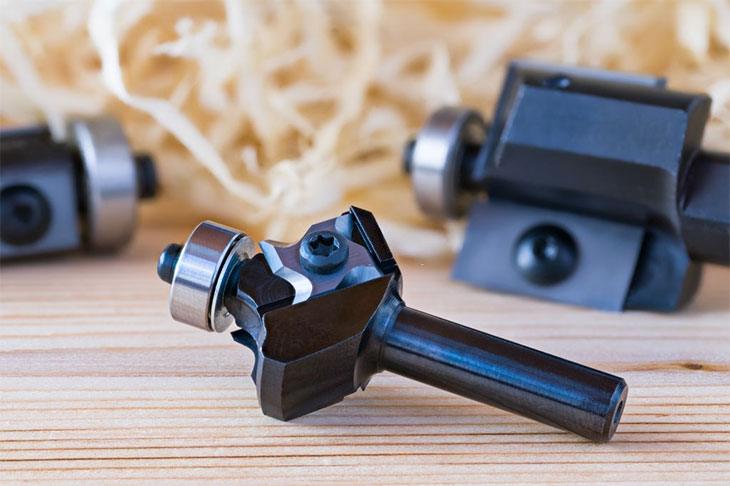
The bullnose router bit is designed to cut a perfectly shaped half-round profile in a variety of wood thicknesses and widths.
Sure, you could use a roundover bit twice and still create the same half circle on your work piece, but why go through the hassle when you could do it in one pass?
The bullnose router bit was designed for just that – to carve a perfectly rounded edge, most notably on the front edge of a counter top. It could also be used to mill stair treads, window sills wooden hinges and shelves.
However, the front edge of window sills is usually radialized with bits relatively larger than the stock thickness.
You may want to experiment with a radius larger or smaller than the thickness of your stock to create unique mouldings.
Unlike quarter round bits, these will not leave a flat in the middle of the stock, and you can complete the profile in a single pass.
2. Tools You Will Need
Before you begin learning how to use the bullnose router bit to add that touch of flair to your projects, you will need the following tools to follow along with this tutorial.
You should also follow these basic safety precautions before proceeding to minimise the likelihood of accidents occurring, and if they do occur, at least minimise the damage it could potentially cause.
How to Use the Bullnose Router Bit?

The bullnose router bit can be used to make small impressions in the side of wood or any other building material used with a cutting machine.
Its alternative, the double bullnose router bit, is used to make two peaks at the same time, which can save a considerable amount of effort.
It is a relatively complex device and is considered a specialized bit mostly used by intermediate to advanced woodworkers.
However, if you already have the tool in your possession it only makes sense that you should learn how to use it rather than hire somebody else to do the work for you.
Learning how to use the bullnose router bit is definitely a worthwhile process if you want to add a touch of craftsmanship to your work and take your projects to the next level.
This can be done by following the following these simple guidelines.
PRO TIPS
You probably want to practice this process with some discarded pieces of wood before you start making professional cuts on actual pieces you want to work on.
Step 1: Get Your Stack Into Place
First things first, secure the stack of wood you want to cut, ensuring minimal movement when you’re working.
Secure the stack of wood with table belts or ties to prevent damaging the wood when work commences.
You should do this before placing the router piece into the machine. Once the stack is secured, you are then ready to use the router.
Step 2: Place the Router on the Tool
Step 3: Make Your Cuts
Step 4: Finishing
Once you are satisfied with the final outlook of your stack of wood, smooth down the stack using sandpaper and enjoy the outcome of your masterpiece.
Conclusion
This tutorial was ultimately meant to help you learn how to a bullnose router bit with the practical application provided.
With a little more practice, you could be well on your way to adding yet another tool to your arsenal of useful implements, and level up your craftsman skill!
In any case you enjoyed it or it was helpful to you in any way, please be sure to share it with your friends and colleagues.
If you loved it, so will they!
